

My First Trial of Building a Portfolio using React.Js


Table of contents
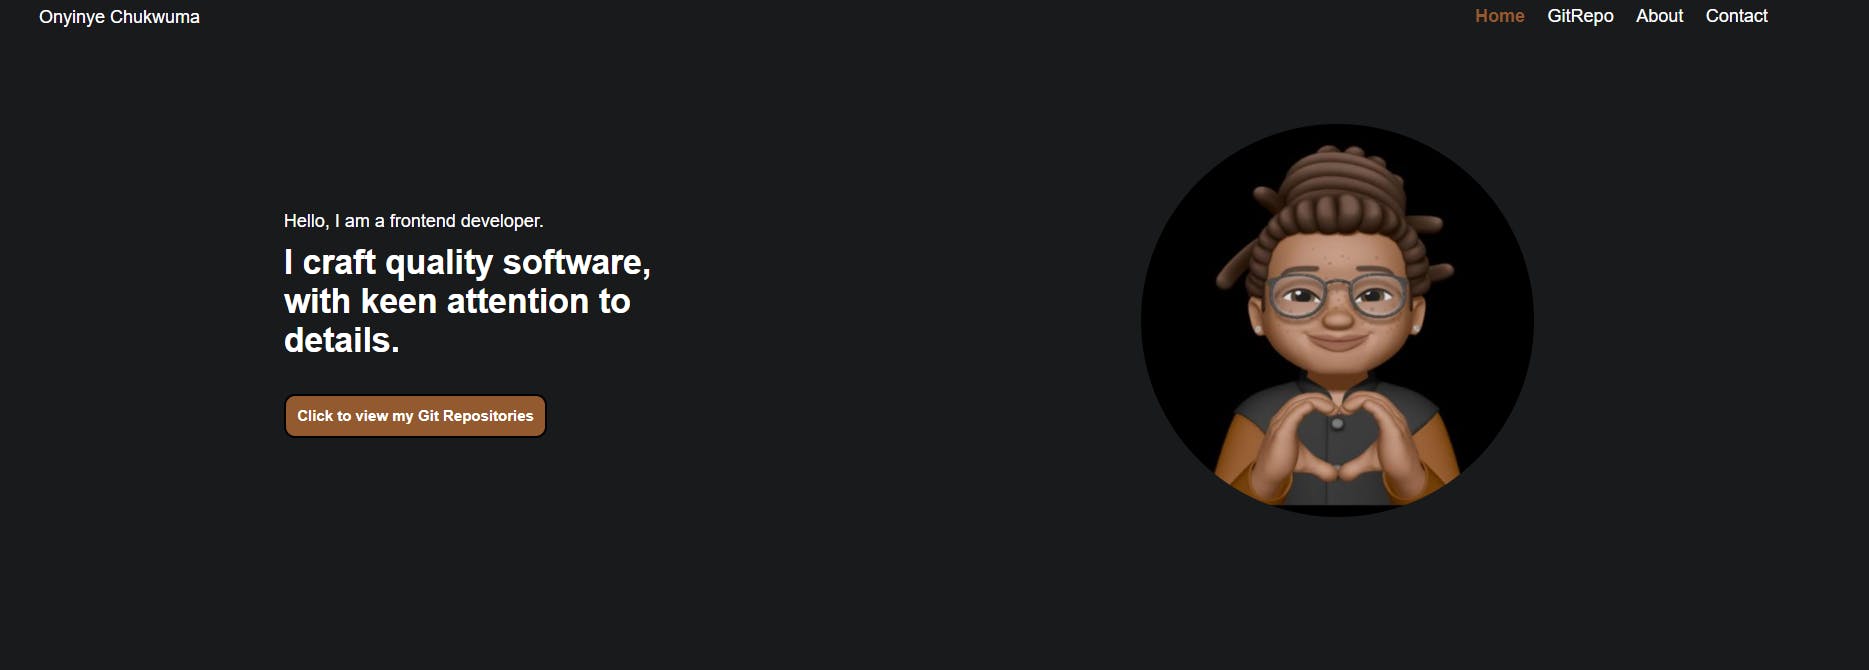
With a lot of beautiful pictures of beautiful remote workstations all over the internet, my interest in software development was rekindled and I enrolled with Altschool. I finally understood that nothing good comes easy. Just after other tasks and little projects, I was given a project to fetch Github API and get it to list all my repositories and display specific data from each repository when it's clicked. Since it's a single user fetch, I decided to create it in form of a portfolio using CSS and REACT
REQUIREMENTS
This project was mandated to display the following functionalities:
Nested Routing
Pagination
SEO
Error Boundary
404 pages
Good UI and responsiveness
INSTALLATIONS
I already had Visual Studio Code installed because of the previous projects I have worked on.
Create-react-app has made it easy to start a react project; Create a folder and run this command either in your command terminal or in your vscode;
npx create-react-app my-app
cd my-app
npm start
Voila!!, Your first React app opens in your browser in the local host:3000. You can now go ahead to delete the functions and components you don't need so that you can have cleared ground to build your wonders.
- Install react-router and react-spinner by running these codes respectively:
npm install react-router-dom@6
npm i react-spinners
You can visit react website for more clarification.
DEVELOPMENT
As I stated earlier, this project was built with basic CSS and React, I got the design from a friend and that made it easier to focus on the functionalities as requested.
- I used async/await method to fetch my API. Below is the code;
const [repos, setRepos] = useState([]);
  const [loading, setLoading] = useState(false);

useEffect(() => {
    const fetchData = async () => {
      setLoading(true);
      const response = await fetch("https://api.github.com/users/onyiii/repos");
      const data = await response.json();

      setRepos(data);
      setLoading(false);
    };
    fetchData();
  }, []);
I was instructed to be able to list all repositories and be able to access specific data from a single repo in a different component. I achieved this using a state component called useLocation;
          <Link
            to="myrepo"
            state={{
              ...repo,
            }}
          >
            {repo.name}
          </Link>
The code above is used to link the component having the API fetch and the list of repositories to the component with the single repo data using the useLocation as seen below:
import { useLocation } from "react-router-dom";

const MyRepo = () => {
  const { state } = useLocation();

  const { name, language, html_url, created_at, default_branch } = state;
For the pagination, there is an option to use react paginate library but I used a line of code as seen in some of the youtube courses I came across while making my research
For routes and nested routes(for routing through different components) , I installed react router dom@6 and wrapped the whole project with BrowserRouter in my index.js:
  const root = ReactDOM.createRoot(document.getElementById("root"));
  root.render(
    <React.StrictMode>
      <BrowserRouter>
        <HelmetProvider>
          <App />
        </HelmetProvider>
      </BrowserRouter>
    </React.StrictMode>
  );
and then imported it in my app.js
import { Routes, Route } from "react-router-dom";I used basic CSS for designs and the link to the code is just in the next section
I also added 404 page, so that a wrong link in the url will not break the code
<Route path="*" element={<NoMatch />} />
//the "*" path represents any path that it's not in the URL. The Routing is done in the app.js

const NoMatch = () => {
  return (
    <div>
      <h1>404 Error</h1>
      <h1>Page Not Found</h1>
    </div>
  );
}
- I also applied error boundary.
DEPLOYMENT
I used netlify for my deployment. Create a repository on your Github and commit all your work. Create an account on netlify, sign in and click on "add new site", it will direct you to a page that will prompt you to link up with your Github and choose the repository you want to deploy and netlify creates a link that you can now share to others.
Any change you make on the project has to be committed and pushed to Github so that it can automatically be updated on your website.
CONCLUSION
I am happy to have embarked on this journey, it's not smooth at all but the learning and enlightenment are worth it. One piece of advice I was given as a beginner and I will always pass to anyone venturing into software programming is that "google is your best friend", you can extend it to youtube too. In addition, build connections with people that have gone ahead of you and never stop asking them questions and growing.
You can access my project here and the code on GitHub here
Feel free to drop your critiques. As I said, it's my first trial and I'm open to corrections. Between the period I wrote this and now, I have also discovered better approaches that I will implement in further projects.
Cheers to building magic!!